Sydney Tan, PsyD; Joseph Dwaihy, MD; Bo Houston, MD, MPH; Neil Talkoff, PhD; Daniela Carollo, PhD; and Alexandra Farber, PhD
Just what is it that we are doing in the consulting room?
Tuning into the Unspoken: Navigating the Landmarks of Unconscious Experience
Fridays, September 5, 2025 to May 29, 2026
East Bay Yearlong Program
Eric Miller, PhD; Elizabeth Stuart, MD; Graeme Daniels, LMFT; Marty Mulkey, LMFT; Chandra Rai, LMFT; and Luciane De Mello, LCSW
Working with Parents: A Complex and Essential Components of Child Psychotherapy
Mondays, September 29, 2025 - October 20, 2025
Coalition for Clinical Social Work (CCSW)
Lea Brown, LCSW; and Amy Wallerstein Friedman, LCSW
Continuous Case Conference
Fridays, September 26, 2025 - May 8, 2026
San Francisco Yearlong Program
J. Marc Wallis, LCSW; Paul Alexander, PhD; Genie Dvorak, PsyD; Bronwen Lemmon, LMFT; and Walt Beckman, PhD
Transformation, Creativity, and the Aesthetic Experience
Saturday, September 27, 2025 | October 18, 2025 | November 15, 2025
SFCP in conjunction with the C.G. Jung Institute of San Francisco and The Regional Bion Symposium present:
Jungian and Contemporary Object Relations Comparative Perspectives
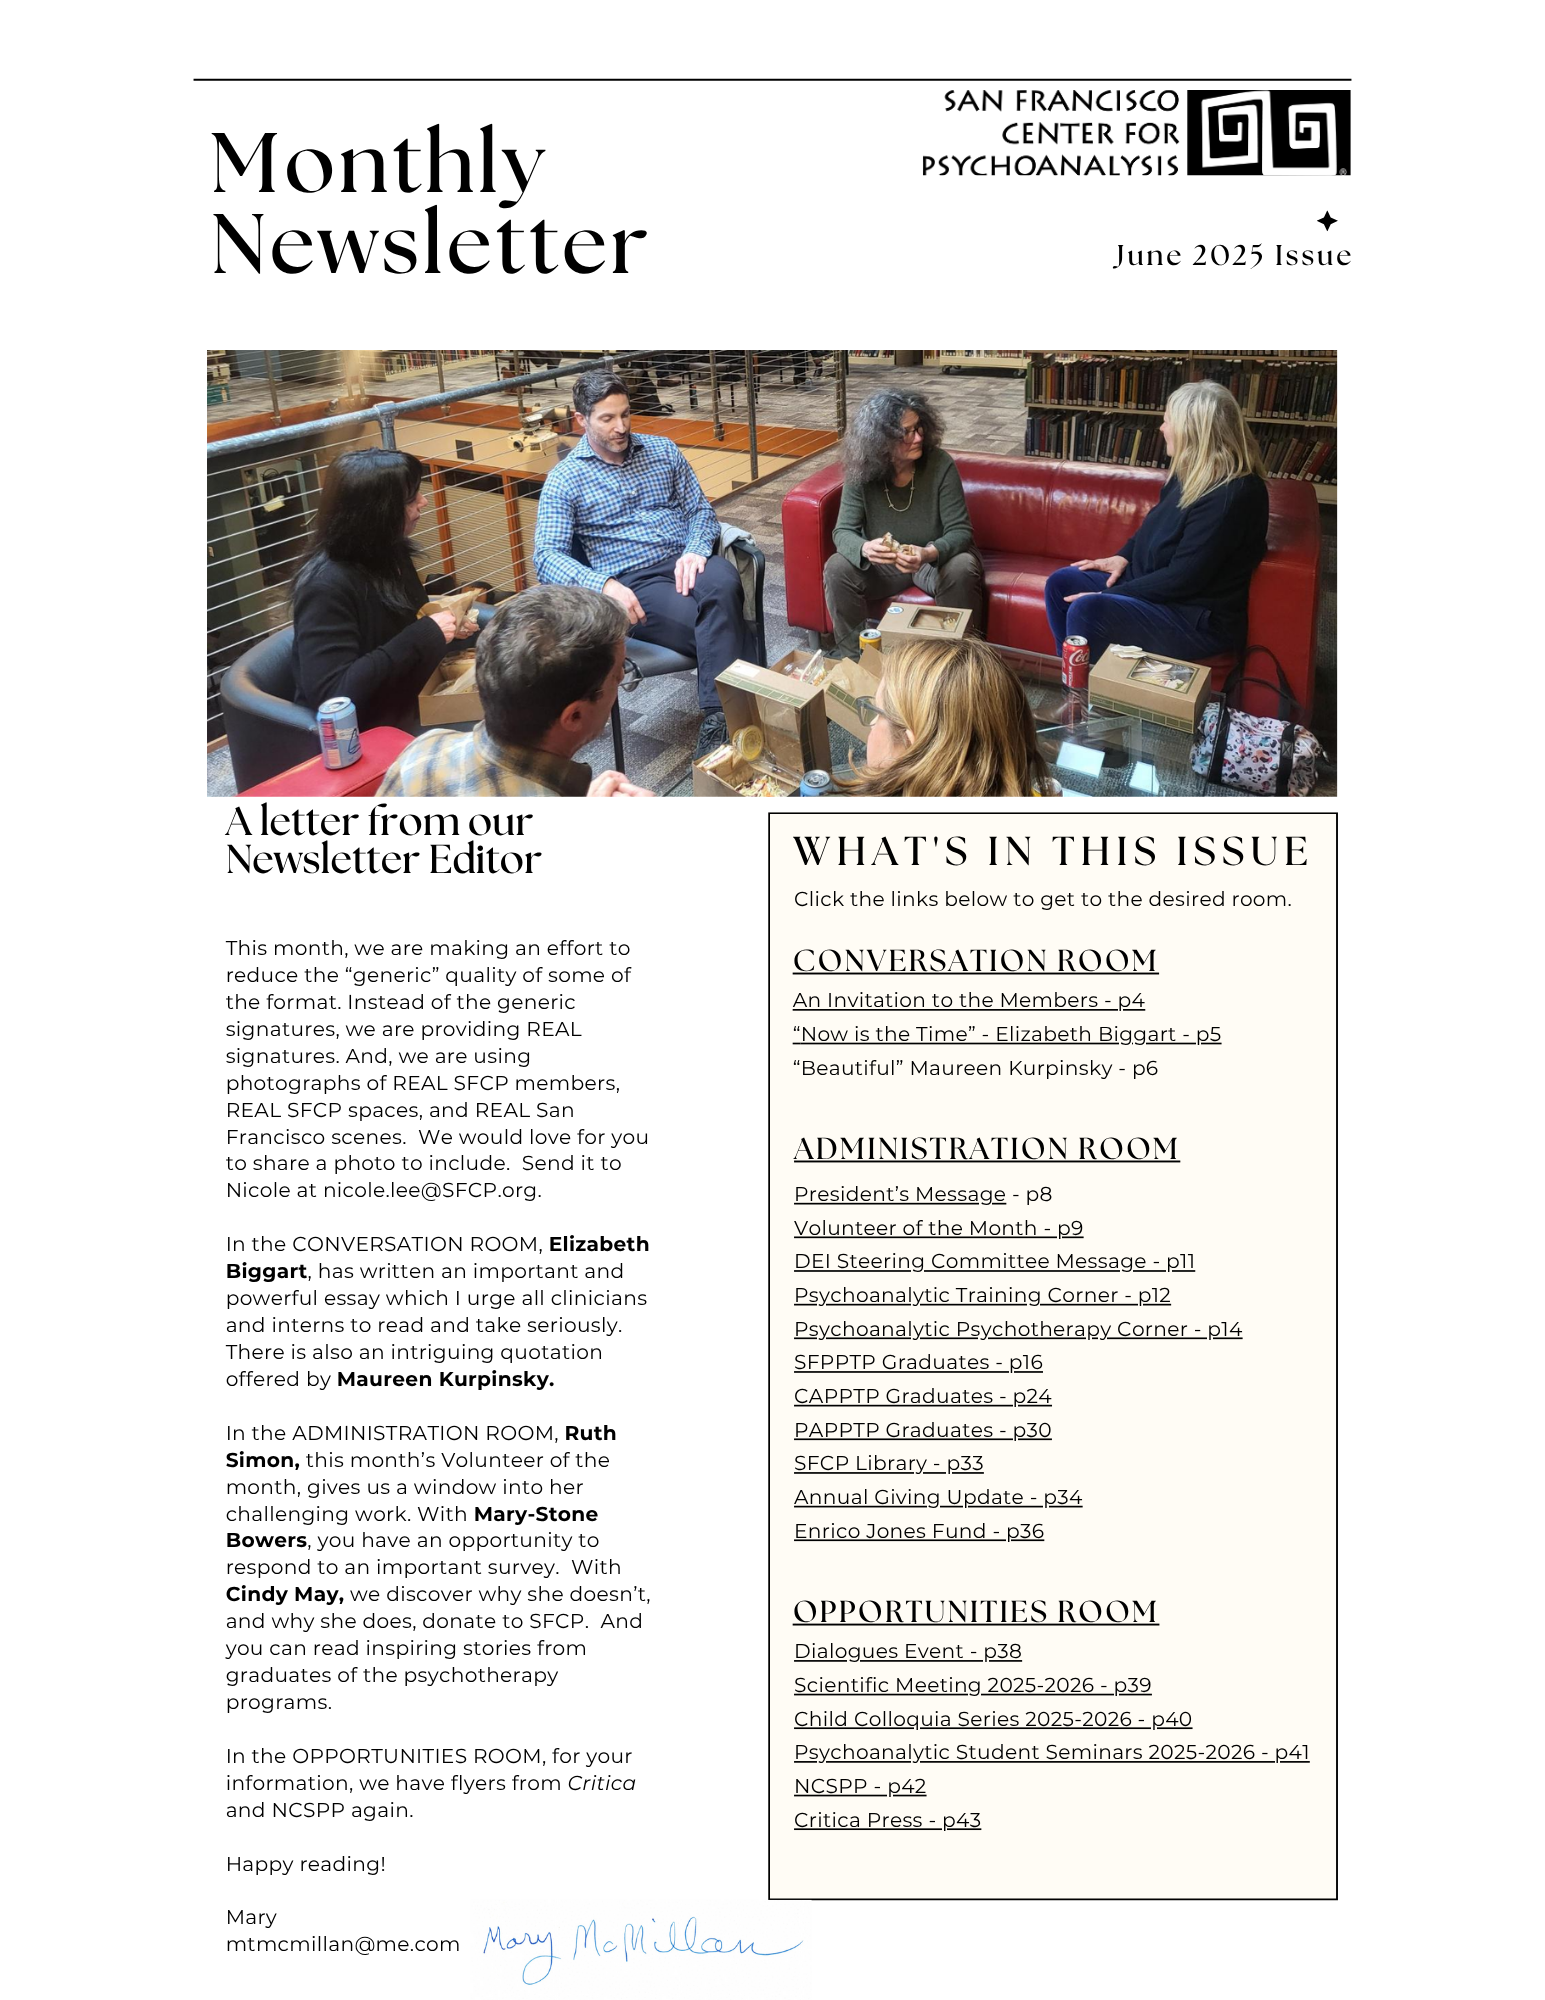
SFCP Newsletter, June 2025 issue
A letter from our Newsletter Editor
An Invitation to Members from the Newsletter Committee: Do you have a passion or hobby you love? A story or life experience that shaped who you are? We want to hear from you!
Now is the Time, by Elizabeth Biggart
Beautiful, by Maureen Kurpinsky, Shared by Mary McMillan
President’s Message, by Maria Longuemare
Volunteer of the Month – Ruth Simon, by Mary McMillan
Diversity Equity and Inclusion Steering Committee, by Clara Kwun
Psychoanalytic Training Corner, by Beth Steinberg
Psychoanalytic Psychotherapy Training Program Corner, by Catherine Phillips and Mary-Stone Bowers
Congratulations to our Graduating 2024-2025 PPED Trainees
Check our shared event calendars with SFCP, NCSPP, PINC, PCPG, and TPI. Avoid scheduling conflicts and coordinate better by viewing public events across local institutions